Buy.
Sell.
Create.
Sell, share, and bring your 3D ideas to life — all in one platform
Have an idea, but not sure how to start?
Fill out the form to get a free consultation — and we’ll show you the fastest way to bring your idea to life. We’ll help you design, model, and print your concept from scratch.
Join our newsletter to keep up and get latest 3D models for free!
 Facebook
 Instagram
 LinkedIn
Company
- Home
- Shop
- About Us
- Media
- Contact
Shop
- Browse 3D Models
- New Releases
- Featured Collections
- Popular Authors
- Best sellers
Builders
- Keychain
- Lightbox
- Converter
- CAD tool
© 2025, Ridan3Dindustries

Models –

User#75
Published 28.12.24
Best Supports Settings for Complex Prints
Discover how to choose and remove supports cleanly — no wasted filament or messy surfaces.
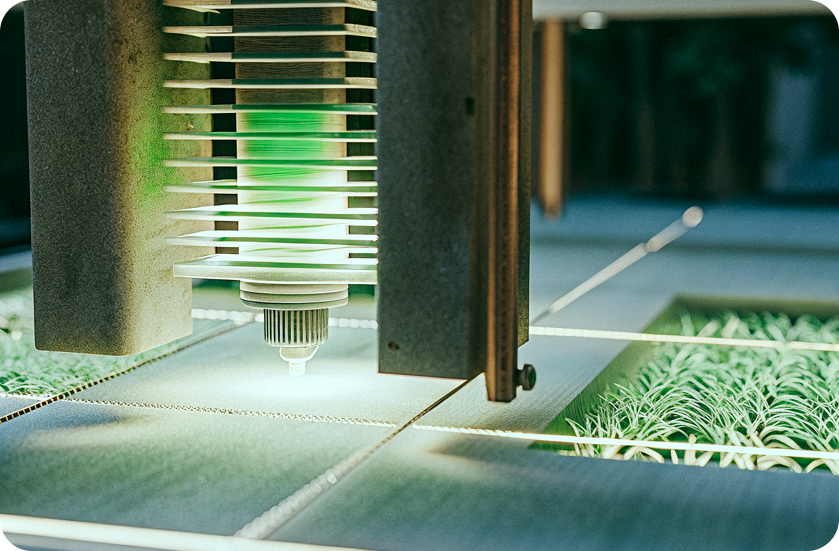
Introduction
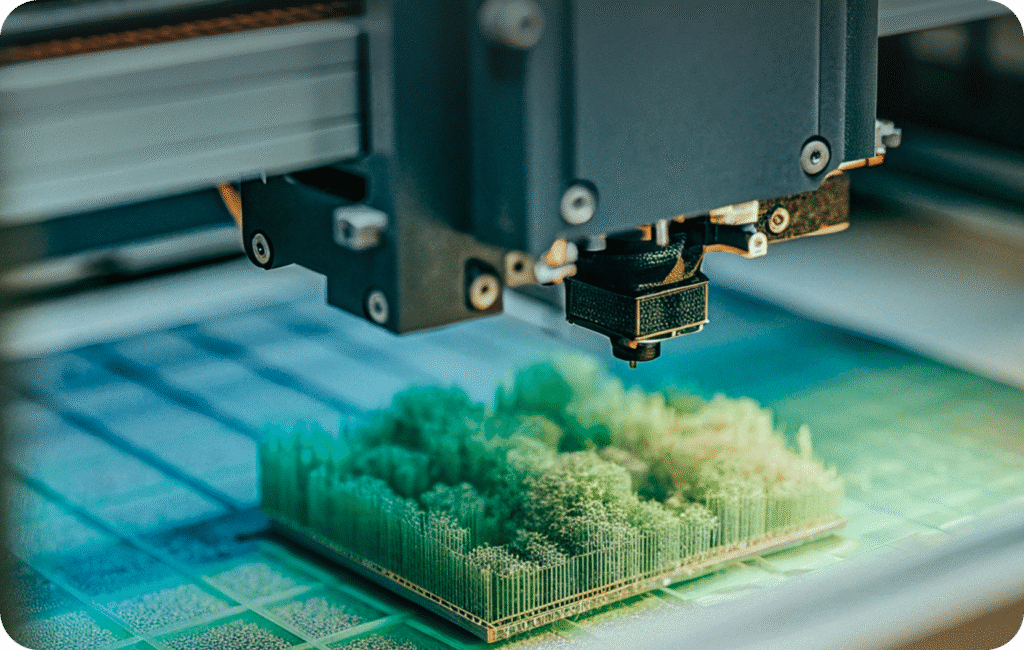
When it comes to 3D printing complex geometries — overhangs, bridges, or intricate organic shapes — support settings can make or break the final result. Choosing the right type of supports, their placement, and density determines not only print success but also surface quality and ease of removal.
In this article, we’ll explore how to optimize support settings for challenging prints and avoid common pitfalls.
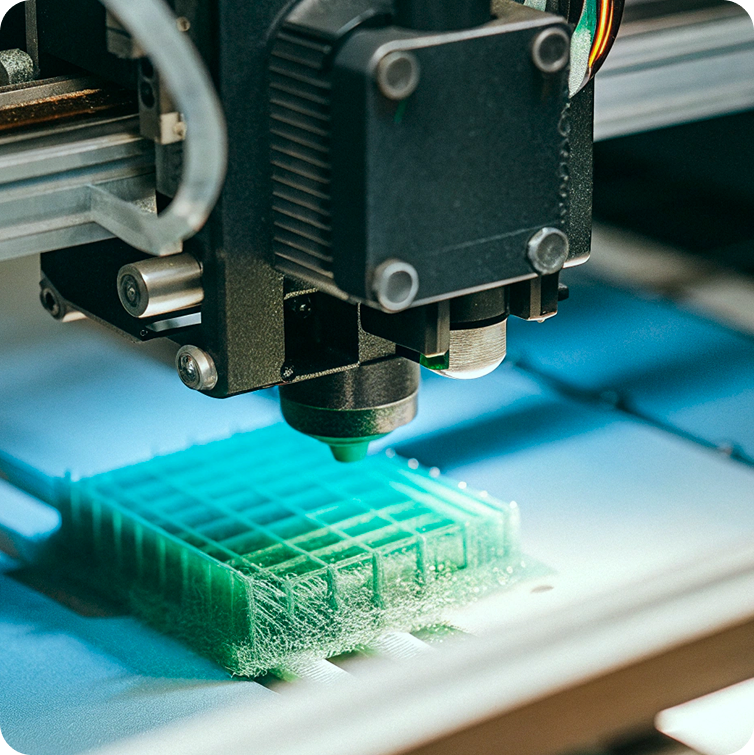
Why Supports Matter
Supports act as scaffolding that prevents sagging and deformation during printing. Without proper supports, overhanging sections may collapse or cause layer misalignment. However, too many supports can waste material and leave ugly scars on your print — so balance is key.
Choosing the Right Support Type
Most slicers offer several types of supports. Here’s how to decide which one suits your model best:
Tree Supports:
Ideal for organic or curved shapes. They minimize contact points and are easy to remove, making them great for figurines and artistic models.
Grid (Linear) Supports:
Provide strong, stable backing for mechanical parts or models with flat overhangs. Slightly harder to remove but offer excellent reliability.
Organic Supports (in modern slicers like OrcaSlicer or PrusaSlicer):
A hybrid approach that uses minimal material while maintaining stability. Perfect for complex structures.
3. Key Settings to Fine-Tune
a. Support Density
10–20%: Easier removal, faster printing, but less stability.
25–40%: Stronger support for delicate or large parts.
Start low and increase only if your print shows drooping or deformation.
b. Support Interface Layers
These thin layers separate the supports from the model surface.
Add 1–2 interface layers for smooth undersides.
Too many layers can make removal difficult.
c. Z-Distance (Support Gap)
The gap between support and model affects removal ease and surface quality.
For PLA: 0.2–0.3 mm
For PETG or ABS: 0.3–0.4 mm (since they’re stickier materials)
d. Support Overhang Angle
Most slicers start adding supports at 45°.
Lower angles (35–40°) provide more stability for complex parts.
Higher angles (50–55°) reduce support use for simpler geometries.
Tips for Better Results
Tips for Better Results
Use custom supports.
Manually add supports only where necessary — it saves material and reduces cleanup.
Orient your model wisely.
A simple rotation can reduce overhangs and the need for supports entirely.
Use soluble supports (PVA, BVOH).
If you have a dual extruder printer, water-soluble supports make post-processing effortless.
Test small sections first.
Before printing a large, complex model, slice and print a small portion to test your settings.
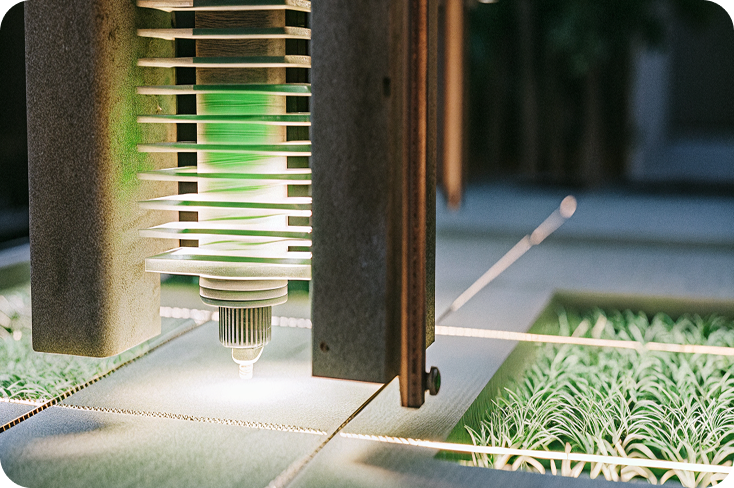
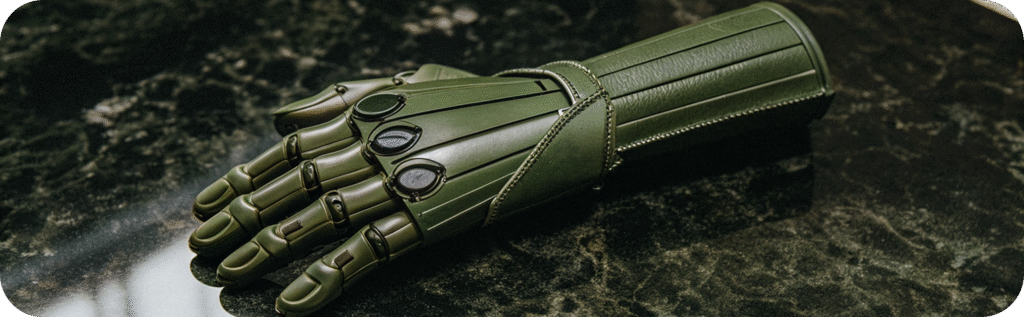
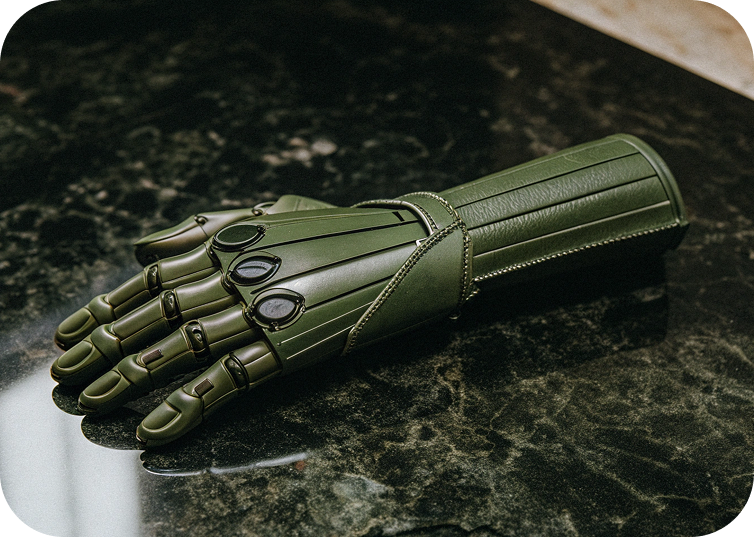
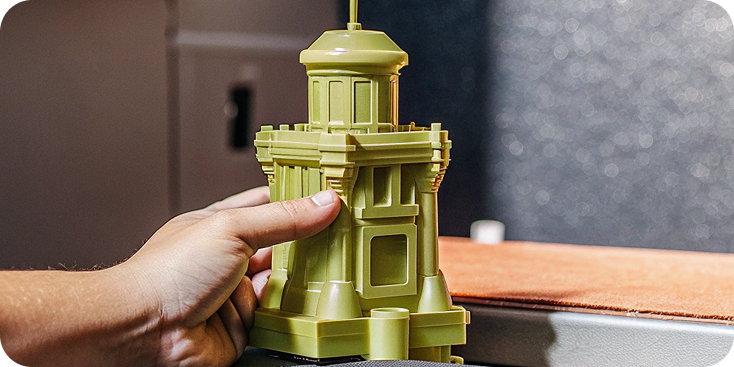
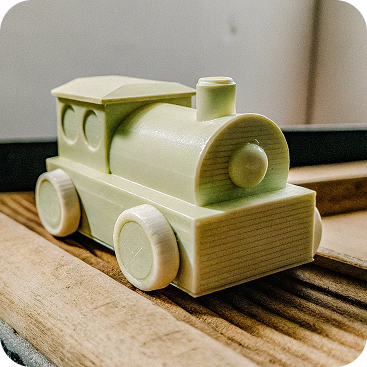
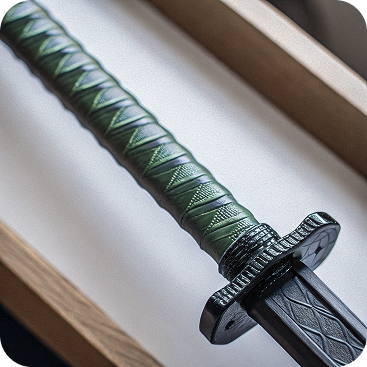
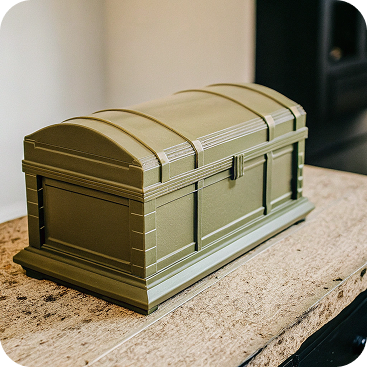
Our Works in 3D
Explore real-world projects brought to life by our designers and creators. From printable models to full-scale prototypes — see what’s possible.


How It Works
Turn your ideas into reality in just three simple steps.

Step 1
Upload or Choose a Model
Browse thousands of ready-to-print 3D assets or upload your own design.
Step 2
Customize and Preview
Adjust dimensions, materials, or finishes with our intuitive 3D viewer.
Step 3
Download or Print
Get the model file instantly or order a high-quality physical print.
Turn ideas into precise 3D models
Prototyping & Design
Our team helps you move from concept to functional prototype quickly. Whether you’re developing consumer products, medical devices, or industrial parts, we tailor our design and 3D modeling process to your needs.
Process of creation
Concept & Design
Our team helps you move from concept to functional prototype quickly. Whether you’re developing consumer products, medical devices, or industrial parts, we tailor our design and 3D modeling process to your needs.
3D Modeling
Our team helps you move from concept to functional prototype quickly. Whether you’re developing consumer products, medical devices, or industrial parts, we tailor our design and 3D modeling process to your needs.
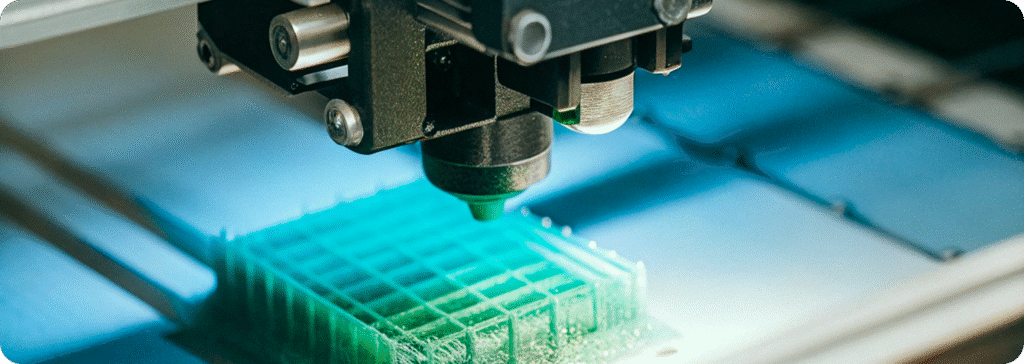
Printing & Prototyping
Our team helps you move from concept to functional prototype quickly. Whether you’re developing consumer products, medical devices, or industrial parts, we tailor our design and 3D modeling process to your needs.
Testing & Iteration
Our team helps you move from concept to functional prototype quickly. Whether you’re developing consumer products, medical devices, or industrial parts, we tailor our design and 3D modeling process to your needs.
Delivery
Our team helps you move from concept to functional prototype quickly. Whether you’re developing consumer products, medical devices, or industrial parts, we tailor our design and 3D modeling process to your needs.
Choose Plan for You
Flexible pricing for every creator — from hobbyists to full-scale production teams.
Starter
For personal use and small experiments.
0$
/month

Limited Access to Model Library
Limited Access to Model Library
Limited Access to Model Library
Limited Access to Model Library
Creator
Ideal for freelancers and regular 3D printing users.
19$
/month
Limited Access to Model Library
Limited Access to Model Library
Limited Access to Model Library
Limited Access to Model Library
Pro
For businesses that need professional-grade prototypes.
49$
/month
Limited Access to Model Library
Limited Access to Model Library
Limited Access to Model Library
Limited Access to Model Library
Сomparison table
Flexible pricing for every creator — from hobbyists to full-scale production teams.
Access to Model Library
3D Printing Requests
Custom Prototyping
Priority Support
Design Consultation
File Storage
Collaboration Tools
Material Discounts
Starter
0$
/month
Limited

1 GB
Starter
19/$
/month
Full
Up to 3/month
Standard
1 per month
10 GB
Basic
5%
Starter
19$
/month
Full
Unlimited

Fast Response
3 per month
50 GB
Full
10%
Frequently Asked Questions
How can I order a custom 3D model?
Digital models are delivered instantly. Printed items usually take 3–7 business days depending on the material and finishing.
What file formats do you support?
Digital models are delivered instantly. Printed items usually take 3–7 business days depending on the material and finishing.
How long does delivery take?
Digital models are delivered instantly. Printed items usually take 3–7 business days depending on the material and finishing.